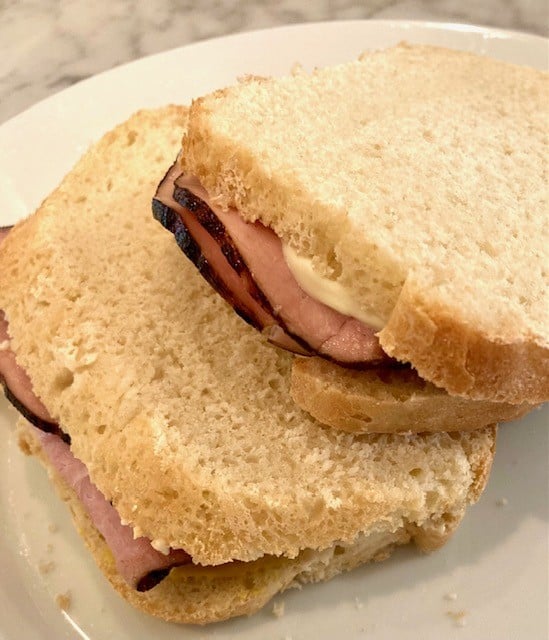
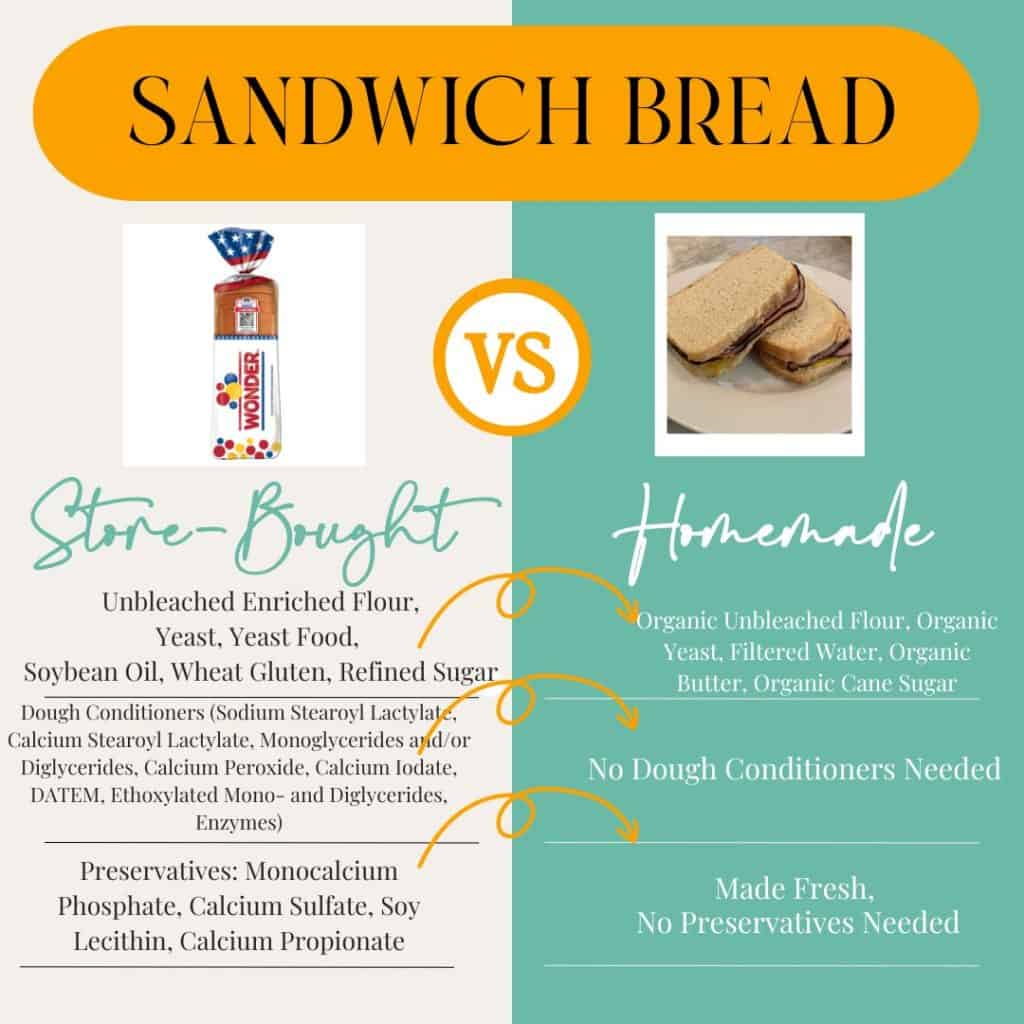
Avocado toast, peanut butter and jelly sandwiches, grilled cheese…My whole family absolutely loves bread! But I’ve read the ingredient labels on the popular store-bought bread. Yikes! Soybean oil? Sodium Stearoyl Lactylate? Monocalcium Phosphate? I definitely don’t want to feed those ingredients to my family every day! So, for a pretty long time, I bought Dave’s Killer White Bread. The ingredients look much better, but it still contains canola oil. And have you priced that stuff lately? My large, homeschooled family (Read: at home all day, so we eat all day!) would go through at least 2 loaves per week. Finally, I’d had enough! I went searching for a budget-friendly recipe that was seed-oil free, strange-chemical-free, and able to be made ahead and frozen for busy weeks. And I found it! You’ll just need a few basic ingredients and a little hands-on time. Keep reading for all of the info on making your own sandwich bread that your kids (& everyone else!) will love.
(This post contains affiliate links to help you easily find the products I mention. You can read more in my policies.)
A Look at the Ingredients in Homemade Sandwich Bread
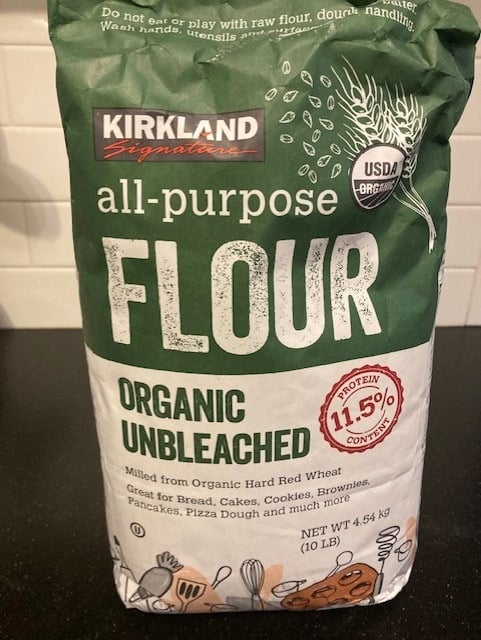
All-Purpose Flour
I have dreams of one day milling my own wheat berries and using fresh flour to make my bread. I’m certain it’s the healthiest option. But that’s not something I can take on right now, so I’m settling on organic All-Purpose Flour that I find at Costco. It comes in a twin-pack of 10 pound bags, and it’s very affordable. If you don’t shop at Costco, there are other options for organic flour at your local grocery store. Why is purchasing organic flour important? Because conventional flour is often contaminated with glyphosate (RoundUp) and other pesticides that are known to be harmful to our health. The International Agency for Research on Cancer has published a statement that calls glyphosate “probably carcinogenic [cancer-causing] to humans”. The California Office Of Environmental Heath Hazard Assessment has agreed with the statement by classifying glyphosate as “known to cause cancer” (read their statement here). Especially in foods I’m serving my family every single day, I want to make sure I’m limiting pesticide exposure as much as possible.
Filtered Warm Water, Active Dry Yeast and Organic Cane Sugar
One benefit of making my own bread is that I can use filtered water. Then I know I’m not adding in unwanted chemicals and contaminants found in tap water as I’m preparing the yeast. The purpose of the yeast is to help the bread rise and take on a wonderful fluffy texture. The sugar helps to “proof” the yeast and make it active. While I try to be mindful of sugar-consumption, this recipe only calls for 1/4 cup of organic cane sugar. Since it makes 2 loaves of bread, that comes out to only 1/8 cup of sugar per loaf, or about 1 gram of sugar per slice. Store-bought bread, such as Wonder Bread, typically have 2-3 grams of REFINED sugar per slice.
Grass-Fed Butter
Grass-fed butter is an excellent choice for your family. It simply means that the cows from whom the milk/butter came were fed real grass rather than conventional cow feed, and a grass diet is significantly healthier for them. Research has shown that grass-fed butter is much higher in nutrients than standard butter. It is higher in fatty acids and fat-soluble vitamins, such as Vitamin A, short and medium chain trigylcerides (source).
Pink Himalayan Salt
Pink Himalayan Salt is a great option compared to standard table salt. It’s full of up to 80 different minerals that the body needs. Dr. Axe describes it this way,
“Pink Himalayan salt is a much more balanced and healthy choice in comparison to common table salt. “True, high-quality pink Himalayan salt is one of the purest salts you can find.
It’s even typically mined by hand. This is very different from table salt that involves a great deal of unnatural interference. Table salt is very heavily processed, eliminating its minerals…” (source).
Tools that Will Help You Make Healthy Homemade Yeast Bread
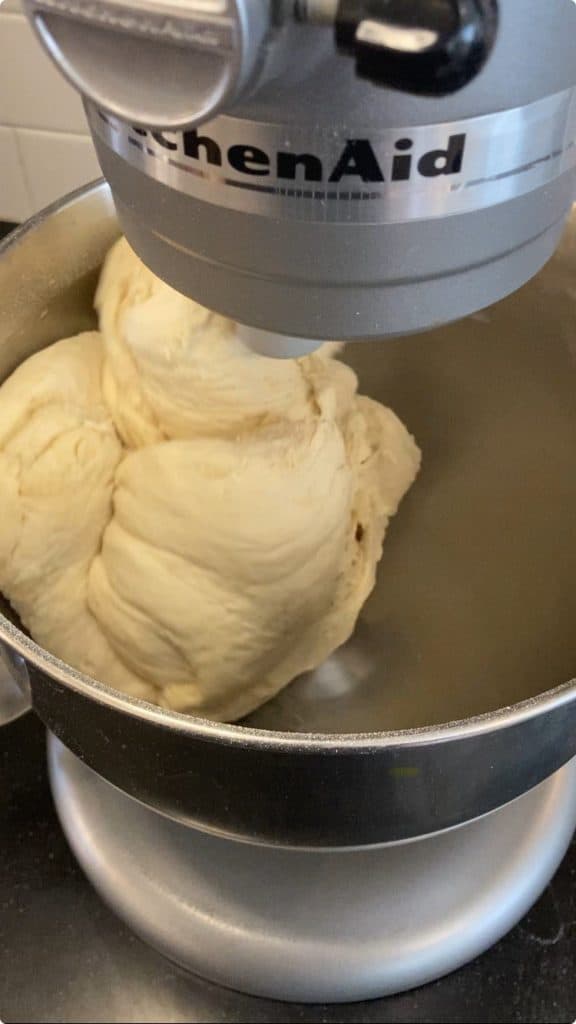
While you don’t need a bread machine for this recipe, there are a few tools that will make the job much easier. A Kitchen Aid stand mixer with a dough hook helps a ton when making homemade bread. You’ll also need at least 2 loaf pans like these glass ones. I also recommend an instant-read thermometer to keep your yeast at the right temperature. And I find that these bread bags are perfect for storing my fresh bread or even freezing it. If you decide to go all-in and commit to making bread on a weekly basis for your family, I suggest in investing Bread Slicer like this set. It even came with a bread knife!
Recipe for Healthy Homemade Sandwich Bread
Ingredients
- 2 1/4 cups warm water
- 4 1/2 tsp active dry yeast
- 1/4 cup cane sugar (organic)
- 1tbsp Pink Himalayan salt
- 1/4 cup butter- melted and cooled (Grass-fed is best)
- 6 1/4 cups of flour (All-Purpose, organic)
Instructions for Healthy Homemade Sandwich Bread
1. Melt butter on stovetop and set aside to cool.
2. In a small pot, warm water. Use an instant-read thermometer to heat the water to around 120 degrees in order to keep your yeast healthy.
3. Add yeast and sugar to water when it reaches desired temperature.
4. Whisk yeast mixture well. Set to the side.
5. Add flour, salt, and melted butter to large mixing bowl.
6. When a nice layer of foam has formed on the top of the yeast mixture (usually takes about 5 minutes to form), add it to the bowl.
7. Knead dough (either by hand or with dough hook on stand mixer) until smooth. Dough should be soft and pliable. If it is too dry or too wet, add a little more flour or water to get the right texture.
8. Shape into a big ball with your hands and place in a bowl. Cover lightly with a towel.
9. Leave in a warm place for an hour to let the bread dough rise.
10. Prep glass loaf pans by brushing butter liberally over the sides and bottom on the pans.
11. When the first rise is complete, remove risen dough from bowl and work with your hands for a minute or so.
12. Split dough in half, and shape each half into a basic loaf shape. Press each one into its bread pan.
13. Cover pans lightly with a towel to allow them to rise in a warm spot for a second time. They’ll need about an hour for the second rise.
14. Place in oven that has been pre-heated to 350 degrees F.
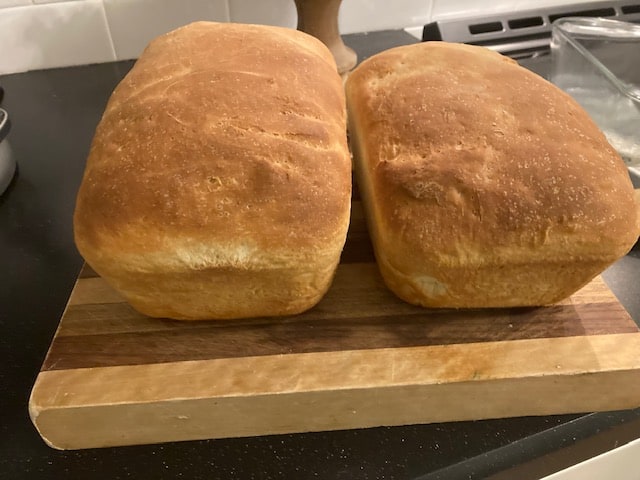
15. Bake for 30 minutes. Loaves should be golden brown on top.
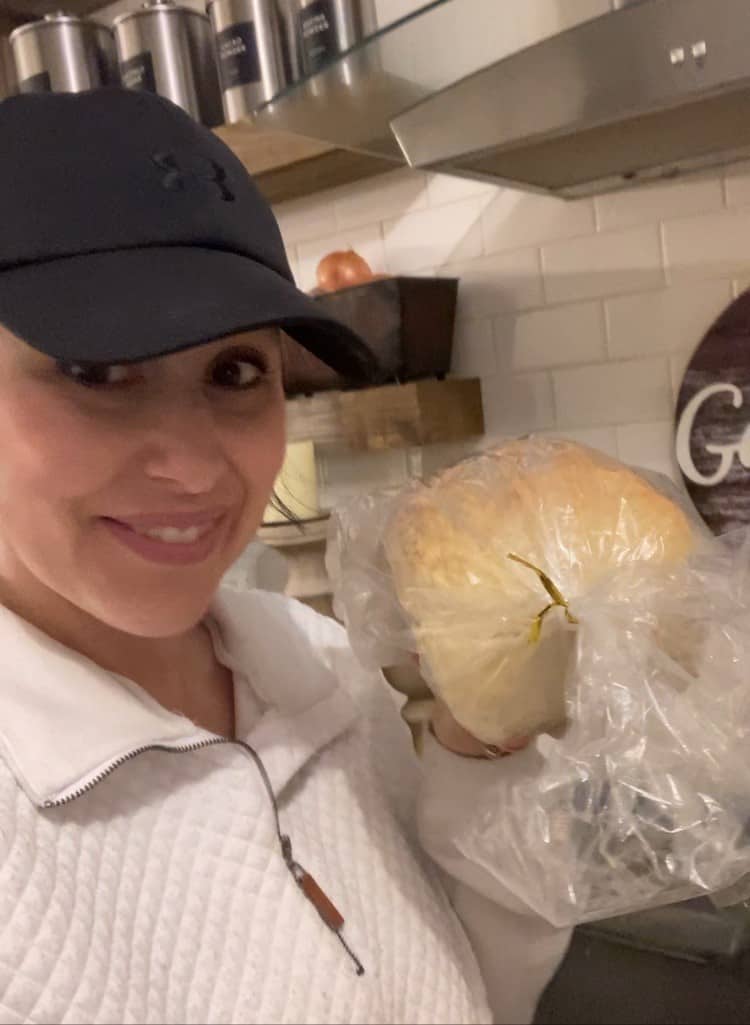
16. Excellent served minutes from the oven. Allow to cool to room temperature before storing extras in these awesome plastic bags.
17. Store in fridge.

Possible Variations on this Healthy Homemade Sandwich Bread
- You could use maple syrup in place of the sugar.
- You could add a touch of honey to the dough to make your bread have an extra special flavor.
- You could add cinnamon and raisins to make a breakfast bread.
- This bread makes awesome grilled cheese sandwiches, and it’s perfect for French toast!
- You can make protein bread by substituting fresh whey for half of the water. I have a friend that makes her own goat’s milk cheese and saves her whey for me. It is absolutely delicious, and I love that it kicks the nutrition factor up one more notch! My kids can always use more protein, so wherever I can manage to sneak some in is a big win.
Click HERE for a link to the perfect storage bag for this homemade bread.
Final Thoughts on Healthy Homemade Sandwich Bread
Making bread used to really intimidate me. I thought only super talented bakers with fancy bread machines could pull it off. Wrong! Anybody can do it! So, if this is your first time, I really think you’re going to be surprised at how easy it is to make. And I think you’ll be surprised at how much your family is going to LOVE it! It beats store-bought bread, hands down. And you get a house that smells absolutely amazing all day long!
Making this homemade bread is also a great way to cut back on your food expenses. Making our own sandwich bread saves us at least $10 per week. That may not sound like very much, but imagine the savings over the course of a whole year! Or even five years!
Also, as I mentioned before, this bread freezes really well. When I need a quick, homemade dish to take to a potluck dinner or a party, this bread makes a great choice. I can just grab a loaf out of the freezer, allow it to thaw on the counter, and I’m ready to serve something special to my friends or family!
A few final tips for you… since this bread contains no preservatives, it’s best to store it in the fridge. And to keep it from drying out, I only slice a few pieces at a time. That way my kids can grab a piece independently, but the loaf remains moist.
Looking for more healthy, easy recipes that your family will love? Check out my Nourish with Diligence page for more ideas! And remember, you can print all of my recipe cards for free by joining my Freebies Library. I hope you’ll check it out!
Happy baking, Diligent Mama!