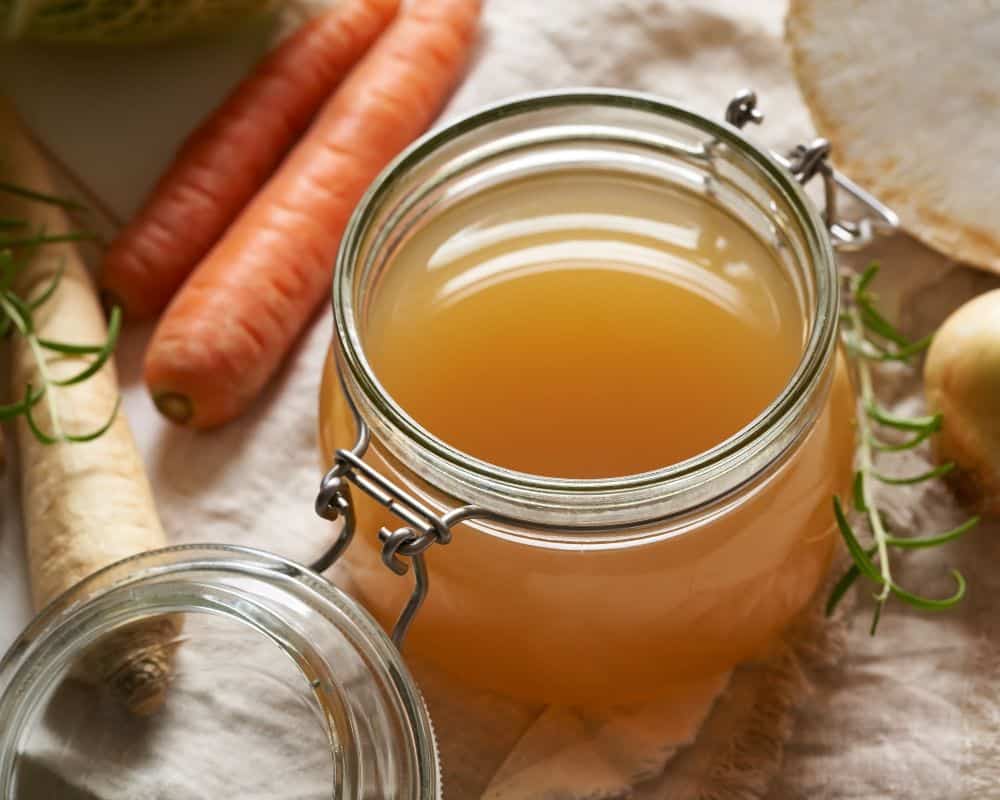
If you aren’t already making your own homemade bone broth, you simply MUST start! I’m going to show you a “recipe” that is even easier and faster than whipping up a PB & J sandwich! In fact, it’s so easy, I’m not sure we should even call it a recipe, ya know? Let’s also talk about some of bone broth’s many benefits so you can understand why you’ve got to ditch the store-bought stuff they call “bone broth” and just make your own broth.
Top 3 Benefits of Bone Broth for Kids and Families
Simply put, bone broth is an incredibly nutrient-dense food. Often times, buying nutrient-dense foods is very expensive, but when you make your own bone broth, you are creating an incredible food with something you were going to throw in the trash! So, what are those health benefits of bone broth? Let’s take a look at my favorite 3.

1. Tons of Nutritional Value
Bone broth is packed with minerals and electrolytes, and they are presented in a form that your body can easily digest. These minerals include calcium, magnesium, phosphorus, potassium, and sodium, sulphur. In addition, it contains collagen, which is great for hair, skin, nails, joint health, and rebuilding connective tissue. Bone broth also contains chondroitin sulfate and glucosamine, which help with joint repair (source).
You’ll also find the amino acid glycine in bone broth. Glycine is known to help in both detoxification, digestion, and even wound healing (source). Bonus, some say glycine has calming characteristics, which may lead to better sleep (source)!
2. Fights Inflammation and Infection
Bone broth contains proline in addition to glycine. Both of these amino acids have anti-inflammatory effects (source). This study was particularly interesting because it found that traditional chicken soup (which, of course, contains bone broth) actually had medicinal properties. It found that could even be helpful with fighting upper respiratory infections!
3. Improves Gut Health and Digestion
When bones are slow cooked, they release gelatin. This gelatin boosts gut health by creating a lining inside the gut, helping stop leaky gut (source 1, source 2, source 3), thus improving the digestive tract. It can support the growth of good bacteria in the gut known as probiotics. And this study found that gelatin was more helpful for children with chronic diarrhea than conventional medicines! One more gut benefit as explained by Dr. Joseph Mercola is, “The gelatin found in bone broth is a hydrophilic colloid. It attracts and holds liquids, including digestive juices, thereby supporting proper digestion.” (source)
A Recipe That’s Easier to Make than PB & J!
I’ve seen many different bone broth recipes out there…kind of like there are thousands of ways to make and PB & J sandwich (different types of bread, different ratios of peanut butter to jelly, crust on or off, etc). But my method is the simplest I’ve seen, and in this phase of my life, I’m all about simple!
Materials Needed:
- Slow Cooker
- Quality Animal Bones (I have 2 freezer bags in my freezer at all times: 1 for collecting my grass-fed beef bones, 1 for collecting my organic chicken bones).
- Filtered Water (I use a ProOne filter.)
- Mesh Strainer
- Soup Ladle
- Mason Jars or Ice Cube Trays or Silicone Trays
- Storage Container
Process for Making Homemade Bone Broth
- Collect and save your bones! As I mentioned above, I keep 2 bags in my freezer for collecting my quality, organic bones. When a bag is full, I know it’s time to make a batch of bone broth! If I cook a whole chicken, the single chicken carcass is also enough to make a batch.
- Dump frozen bones into your slow cooker. I use my old-faithful crockpot.
- Cover with filtered water. I use with water filtered through my ProOne.
- Bring to a gentle boil. If I put my crockpot on high, it will come to a perfect boil. I typically leave it on high for about 6 hours.
- Reduce temperature and continue to cook for 48-72 hours. This part is a matter of convenience for me. The longer they cook, the more nutrients the bones will release. So, depending on our schedule, I’ll let them cooker a little longer. The bones should be soft and mushy when they are done.
- Keep covered with water. Every time I walk by the crockpot I try to peek in to make sure there is still enough water to cover the bones.
(This post contains affiliate links. You can read more in my policies and disclaimers).
Preparing the Homemade Bone Broth

Freezing in these silicone 8 oz blocks is perfect for tossing in soup! Grab them here.
- Let broth cool.
- Pour through mesh strainer. I use a ladle and a mesh strainer to pour the broth into a large container.
- Distribute into usable size portions. When I first started making bone broth, I froze it in small Mason Jars. Despite how carefully I froze them, some jars still busted in the freezer. And whenever I wanted to use some of my frozen broth, I had to wait for the jar to thaw before I could add it to my recipe. Now I prefer to freeze in silicone trays (see photo above). I freeze some in these 1-cup size blocks, which are perfect for tossing in soup or chili. I can drop them straight into my large pot of cooking soup, and they can melt right in! I also like freezing some in silicone muffin trays. This size is perfect for adding to mac and cheese, green beans, or even dropping in the bottom of a coffee cup or a morning smoothie. I like having the 2 different size options, and I also like not typing up all of my Mason jars in the freezer!
- Store in a freezer-safe container


Notes about Making Homemade Bone Broth
You’ll see many recipes that add vegetables or spices to their broth. I prefer to keep mine very plain. First of all, the lack of cutting, chopping, and measuring makes this an “I-don’t-have-to-use-my- brain-at-all” recipe. I like those kind of recipes! Second, it makes my broth more flexible. I can toss it in any dish I’m making and season it once it’s in the dish.
Some recipes call for Apple Cider Vinegar. The purpose of adding the vinegar is to draw the goodness out of the bones quicker. Since I’m planning to cook my bones 48-72 hours, I don’t need the vinegar. Adding the vinegar does change the flavor of the broth a little, so I’d prefer to just let it cook for a really long time! Cooking my bones for an extended period of time take no extra effort on my part, so I just let them go! When the bones are super soft and mushy, you know your broth is ready!
Being Prepared with Homemade Bone Broth

If you review the nutritional benefits above, you’ll agree that there is a good reason to offer your kids a cup of broth the next time they are sick! It’s a great way to nourish them quickly and boost their immune system. Having frozen blocks of chicken broth in my freezer makes it easy to whip up a comforting bowl of chicken soup!
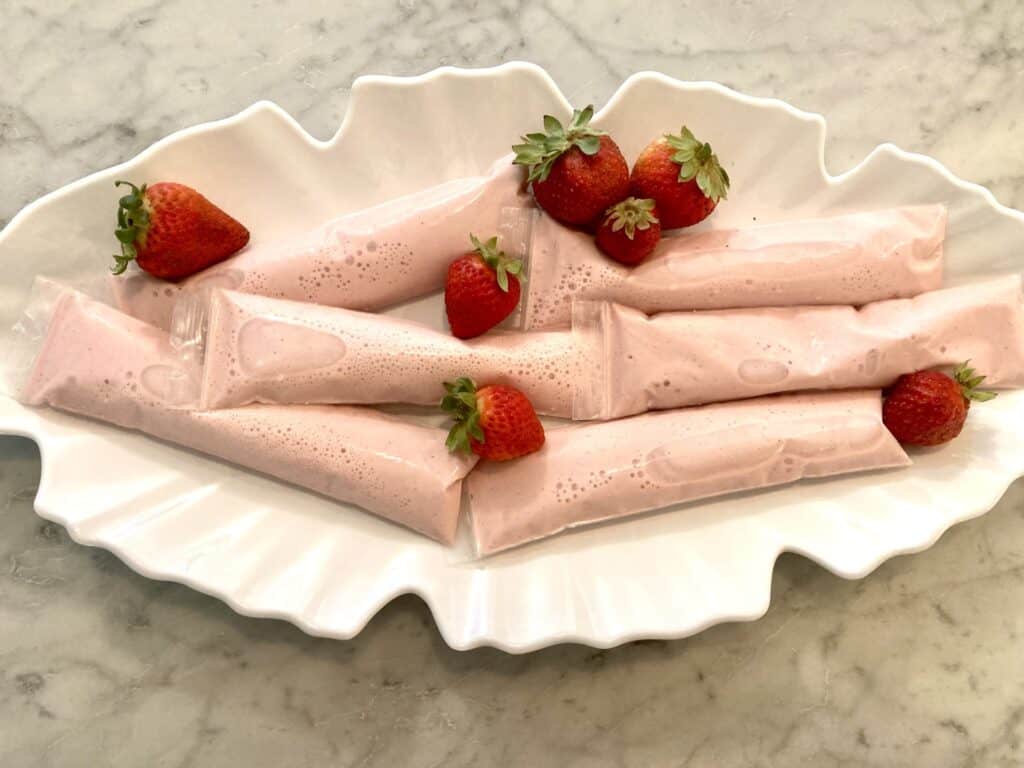
Bone broth can even be a great first food for young babies. You can cook veggies in broth rather than plain water, or you can even cook noodles in the broth. My favorite is penne noodles because they soak up so much of the broth, and they are easy for my toddler to pick up and eat. Even getting small amounts of bone broth into your family’s diet is beneficial, so do what you can. Get creative and incorporate bone broth into tomato sauces, cheese sauces, or smoothies!
Making bone broth is easy, thrifty, and packed with nutrients. Hope you’ll give it a try!
Want more do-able ideas on how you can nourish your family well? Check out my Nourish with Diligence page!